Here's what most Etsy sellers actually experience: they set up their product, take twenty shots, pick the best one, upload it, and still feel like something is off. The photo looks flat. The color isn't quite right. The background has a shadow cutting through it. The shot that looked fine on their phone looks mediocre next to every other listing on the search results page.
Getting better product photos for Etsy with your phone isn't about buying gear — it's about diagnosing the specific problem in your current shots and fixing it. This guide is organized around the problems sellers actually run into, with concrete fixes for each one.
Problem 1: Your Photos Look Flat and Dull
Flat photos are almost always a lighting problem. Specifically, they're a front-lighting problem. When the main light source is directly behind your phone — a window behind you, an overhead light above you — it hits the product head-on and erases shadows. Shadows are what give a product visual depth. Without them, a handmade leather wallet looks like a piece of colored paper.
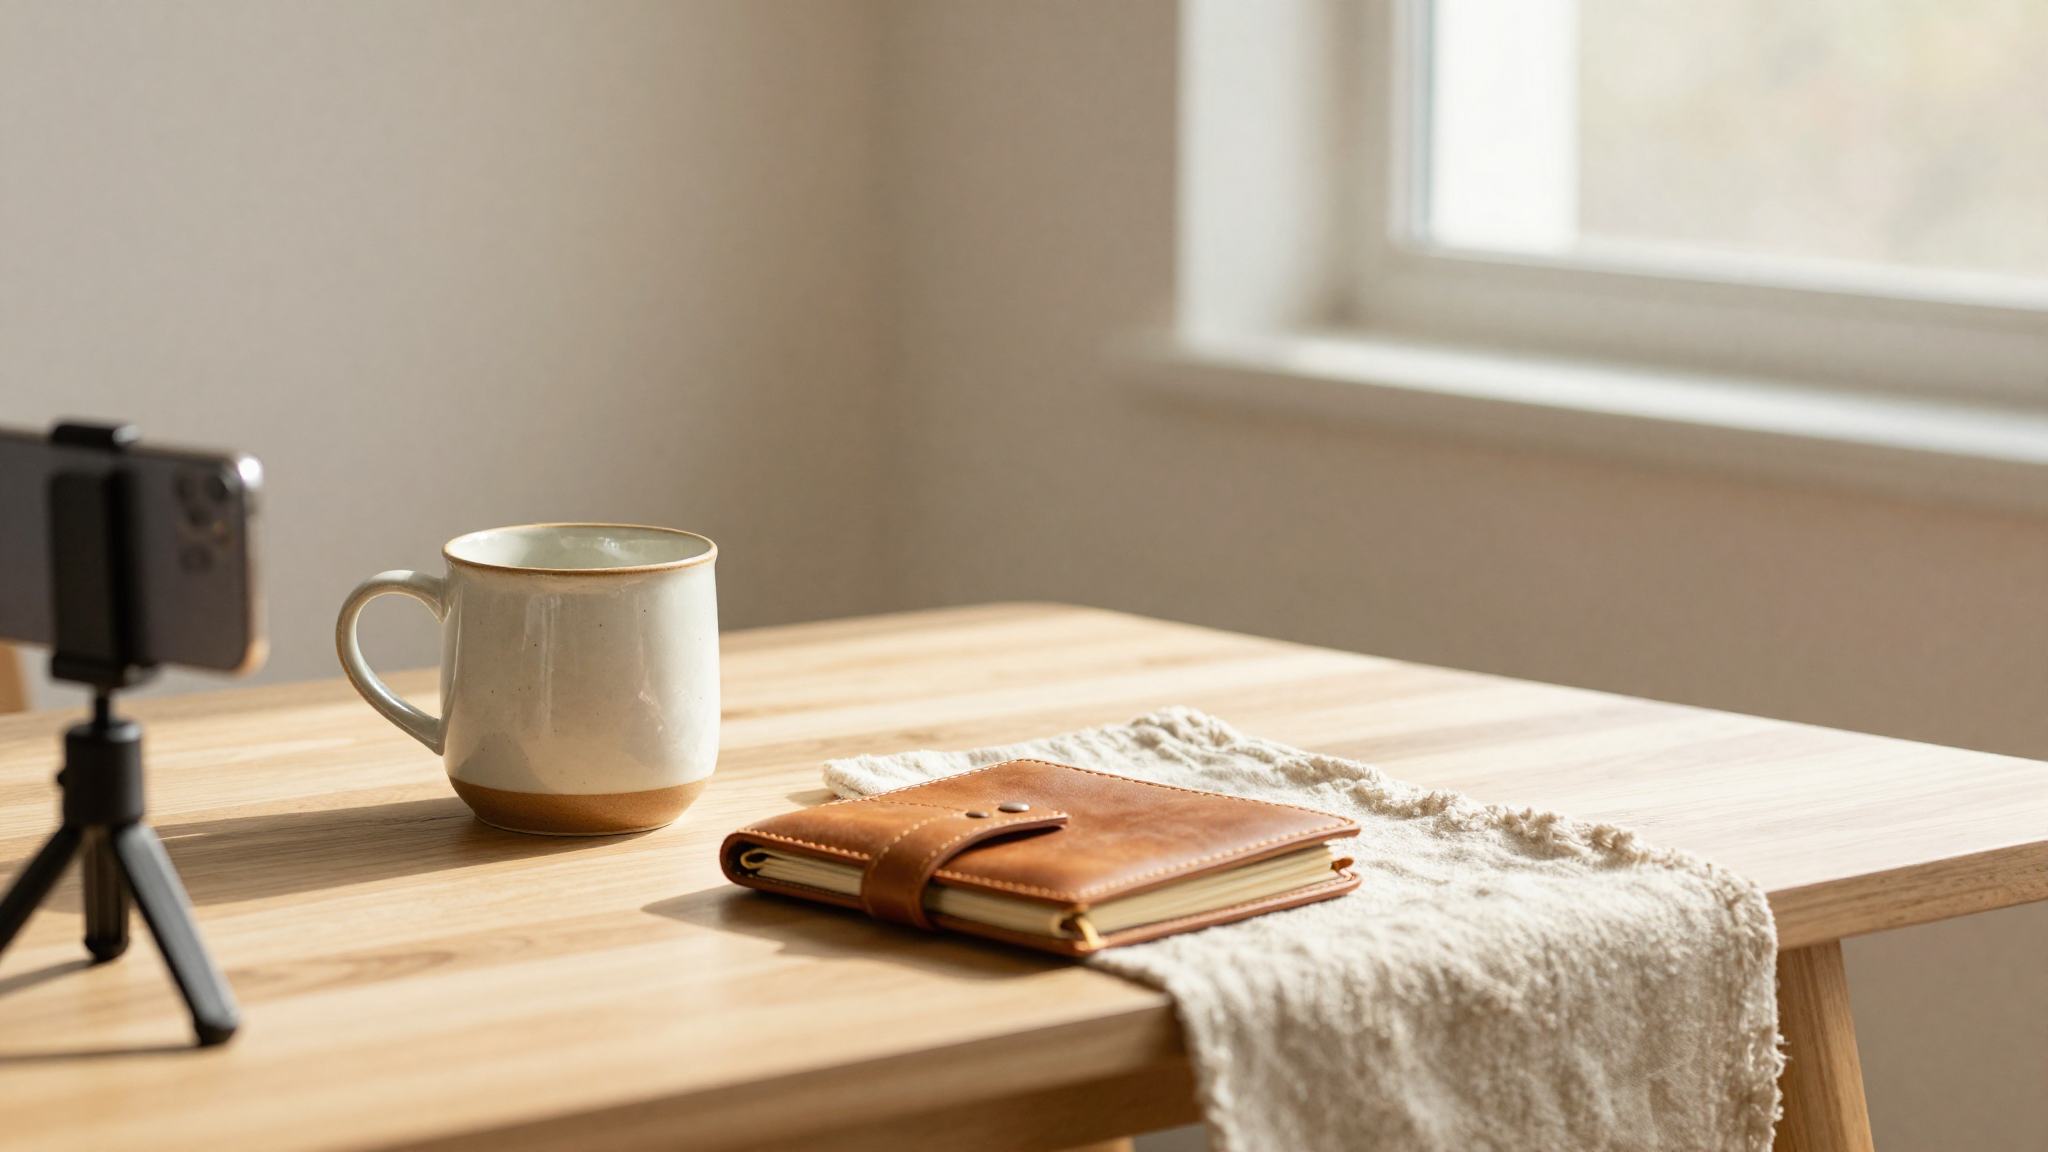
The fix is to move your light source to the side. Position your shooting surface so that the window is to your left or right, not behind you. You want light coming across the product at an angle. For three-dimensional items — candles, mugs, jars, pottery, anything with height — this single change will make an immediately noticeable difference. The light will catch the contours of the object and create natural shadow gradients that communicate shape and texture.
If the shadowed side of your product goes too dark, grab any white surface — a piece of printer paper, a foam core board, a white notebook — and prop it up on the opposite side of the product from the window. It bounces just enough light back to soften the shadow without killing it entirely.
Problem 2: Your Colors Look Wrong
This one frustrates sellers who work with color-sensitive products — dyed yarn, painted ceramics, printed stationery, fabric goods. The product looks one color in person and a completely different color in the photo.
The culprit is almost always mixed lighting. Daylight from a window has a blue-white color temperature. Incandescent bulbs are warm orange. LED ceiling lights vary wildly. When two or more of these light sources hit the same product, the camera doesn't know what "white" is, and the resulting photo has a color cast — sometimes warm, sometimes cool, sometimes a muddy mix.
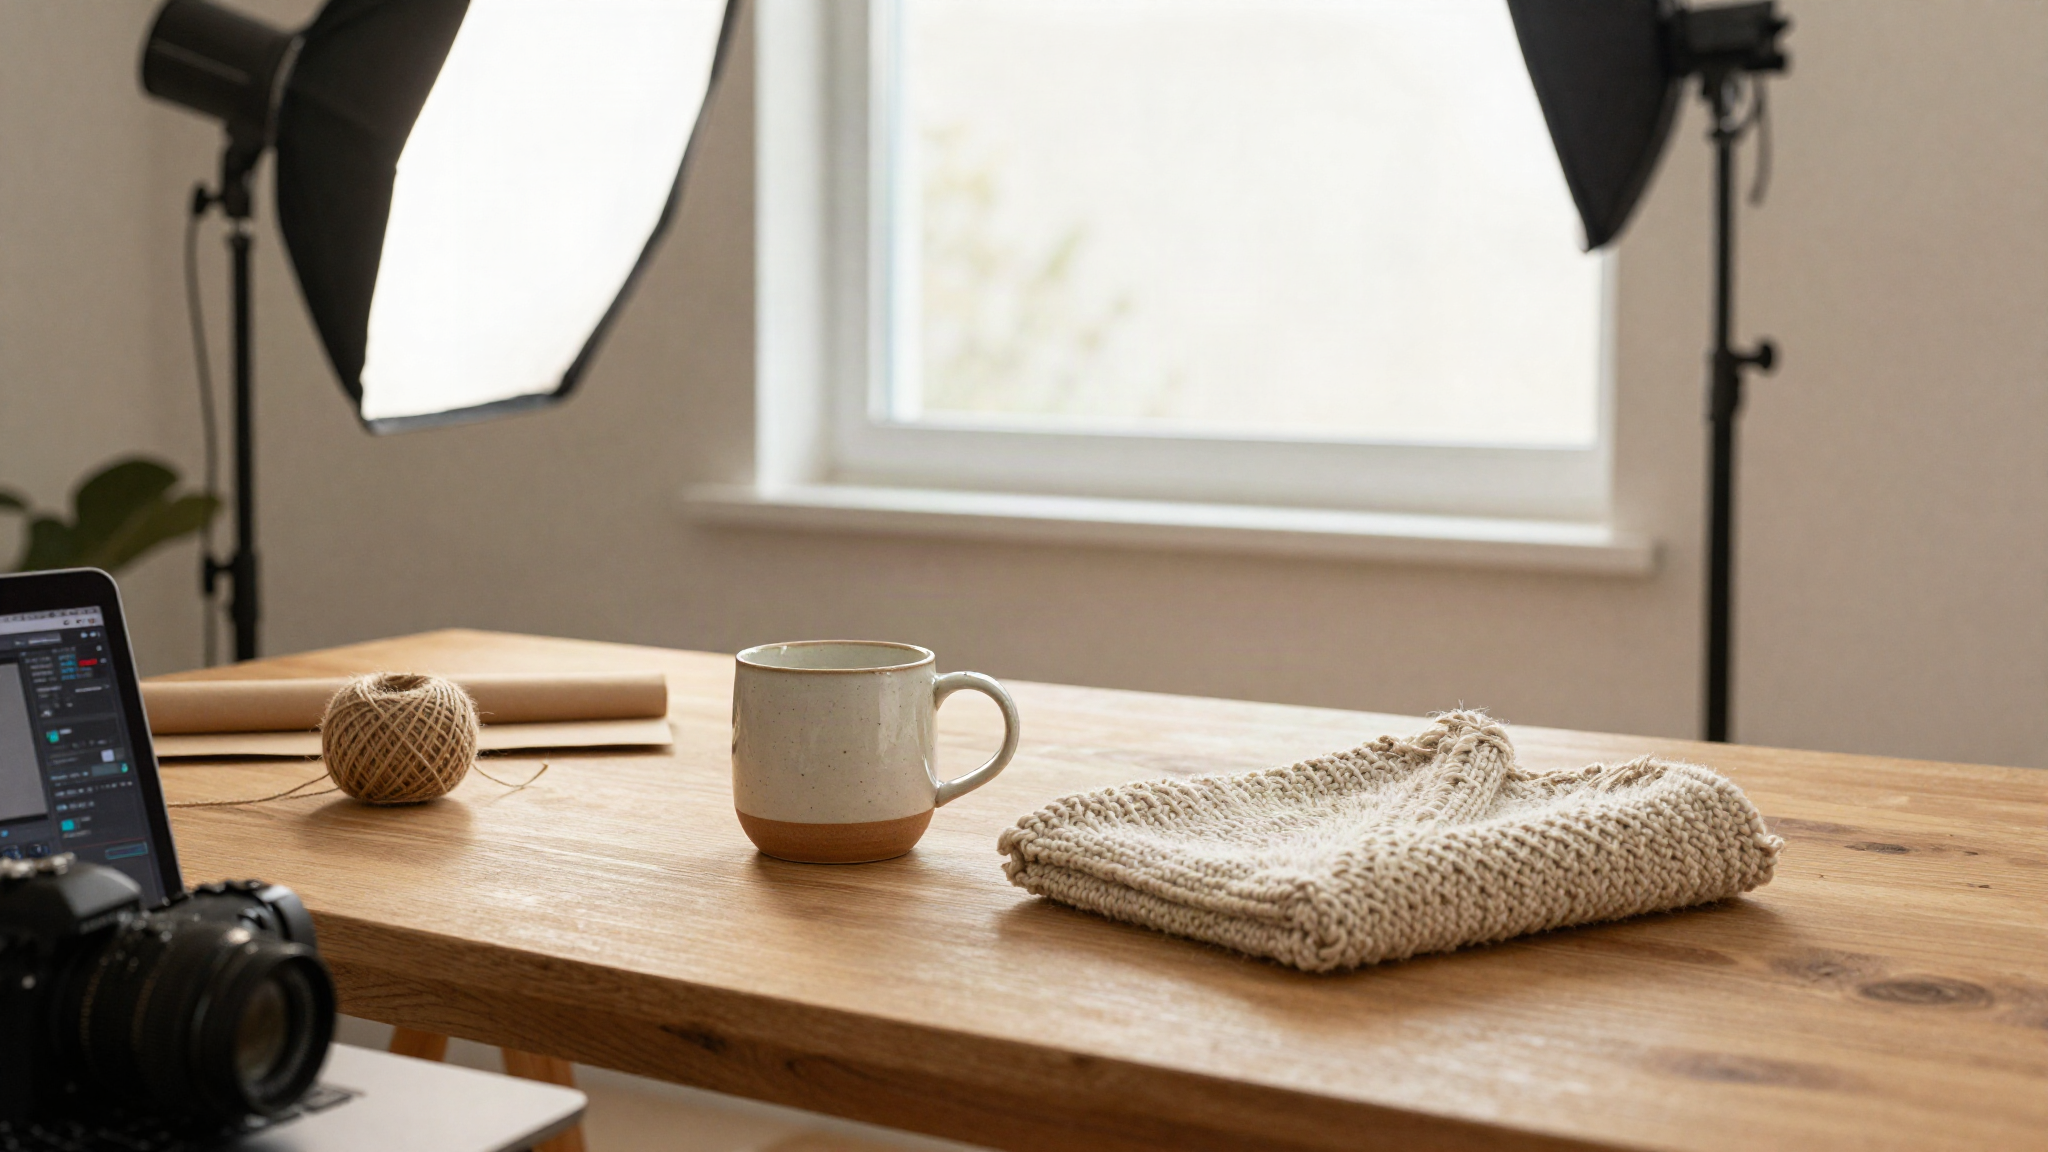
The fix is to shoot with one light source only. Close the blinds on any windows that aren't your primary light source. Turn off overhead lights and lamps. Shoot using only the window you've positioned to the side of your product. Your phone camera's auto white balance handles single-source light very well. If colors still look off after this, open your phone camera's manual settings (or use an app like Lightroom Mobile or ProCam) and manually lock the white balance by tapping on a white or neutral gray area in the frame.
For products where color accuracy is everything — gemstone jewelry, hand-dyed fiber, art prints — shoot on a pure white background. A white background gives your camera a consistent neutral reference point and makes color correction in editing much more reliable.
Problem 3: Your Close-Up Shots Are Always Blurry
Detail shots are essential for handmade goods. Buyers want to see the stitch count, the glaze texture, the engraving depth, the foil shine. But every time you try to get close, the shot comes out soft or blurry.
Two things cause this. First, most phones have a minimum focusing distance — get too close and the camera physically cannot lock focus. Second, phone cameras default to a continuous autofocus mode that keeps hunting for a subject, which creates blur the moment you press the shutter.
The fix for minimum focus distance is to back up and zoom in using your phone's optical zoom lens instead of getting physically closer. Most phones now have a 2x or 3x optical zoom lens (distinct from the digital zoom, which degrades quality). Switch to that lens and shoot from a few inches further back than feels natural. You'll get the same tight crop without the blurriness.
The fix for autofocus hunting is to tap and hold on your product in the viewfinder until you see an "AF/AE Lock" indicator appear. This locks both focus and exposure in place so nothing shifts when you tap the shutter. On Android, the equivalent is to tap your subject and look for a lock indicator. Now take the shot. The difference in sharpness is immediate.
Problem 4: Your Background Has Distracting Shadows
A clean background that photographs white looks gray, and a sweep of foam core has an ugly shadow line cutting across it. This is one of the most common complaints from sellers who try to DIY their product shots.
The line where your vertical background meets your horizontal surface creates a hard shadow edge because those two planes catch light at different angles. The solution is a continuous curve, not a right angle. Tape your background paper or foam core to a wall and let it droop naturally onto the table surface in a gentle curve. No crease, no fold — let gravity create the arc. Now both surfaces flow into each other and the shadow disappears.
For the gray-instead-of-white problem, the issue is usually underexposure. Tap your product in the viewfinder first to set focus, then swipe up on the exposure slider (on iPhone this appears as a sun icon next to the focus square) to brighten the shot. Bring it up until the background starts to look white without the product itself washing out. You can also fix this in editing — increasing the "Whites" slider in Lightroom Mobile specifically brightens the brightest parts of the image, which is the background, without overexposing your product.
Problem 5: Your Lifestyle Shots Look Staged and Fake
Secondary photos that show your product "in use" or "in context" are powerful for conversions — but only when they look natural. Most sellers' lifestyle shots look like exactly what they are: a product placed awkwardly in a home environment with a forced staging.
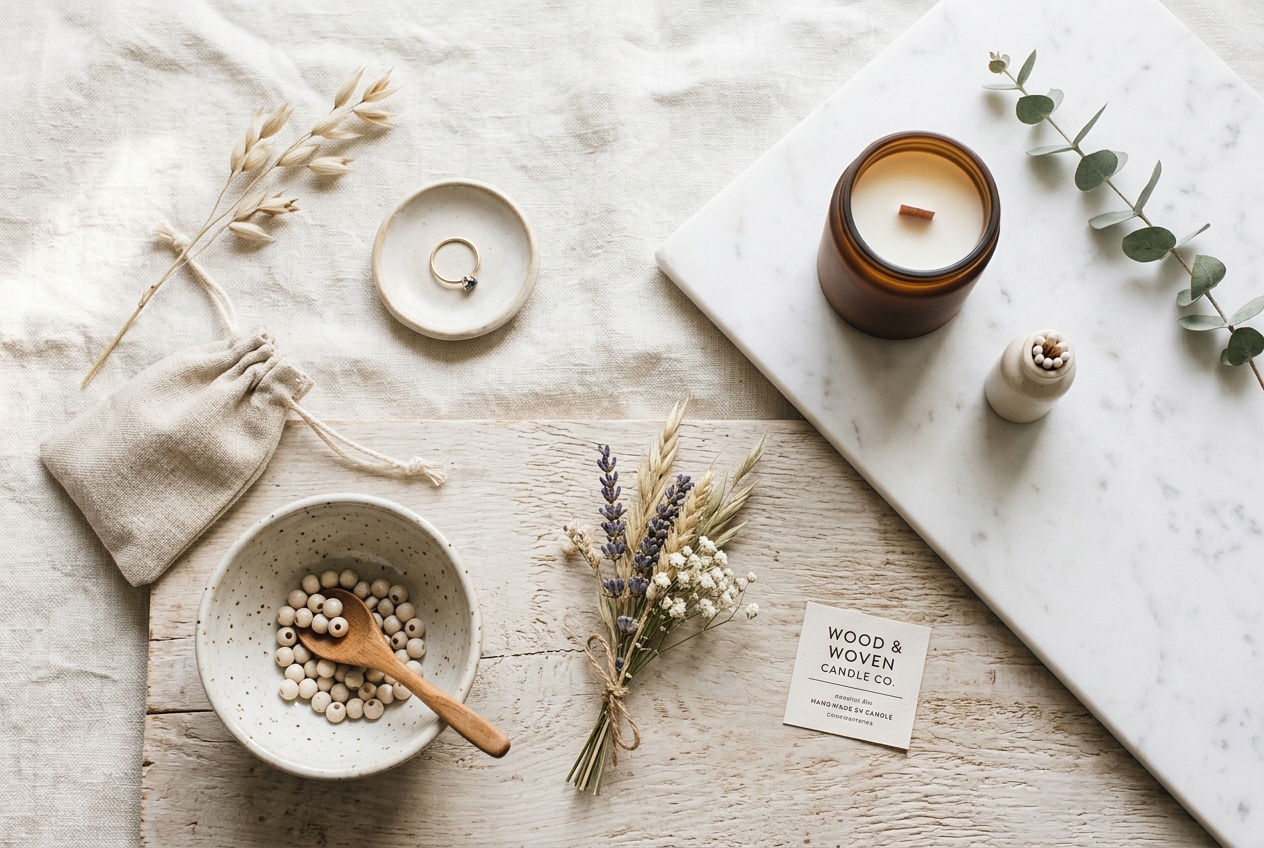
The difference between a staged shot and a convincing lifestyle shot is usually context consistency. Every element in the frame should belong to the same world. If you sell ceramic mugs with a rustic, handmade aesthetic, every prop in the shot should feel handmade or natural: a linen napkin, a worn wooden surface, dried flowers. A modern smartphone or a branded tote bag in the background breaks the visual story.
Keep it minimal. Lifestyle shots fail most often because there's too much in the frame. Choose one or two supporting props maximum and keep them in the background or periphery, not competing for center frame with the product. Remove anything that catches the eye before the product does.
Shoot at the height the object would actually be used. A coffee mug on a table gets photographed from table height — not from above. Candles get photographed at eye level, not bird's eye. Matching your camera angle to how someone would actually interact with the product is what makes a lifestyle shot feel natural instead of staged.
Problem 6: Your Photos Don't Look Consistent Across Your Shop
Individual photos can look fine in isolation and still make a shop look chaotic when viewed together. Buyers scroll through your listings as a gallery, and inconsistency signals a shop that isn't taking presentation seriously.
Consistency comes from locking down variables. Pick one background and stick to it for all your primary listing photos — this is the single fastest way to make a shop look cohesive. Pick one shooting position and mark it with tape on your table so you set up in the same spot every session. Shoot at the same time of day so your light source is consistent. Build one editing preset in Lightroom Mobile from your first well-edited photo and apply it to every subsequent image.
The other way to solve consistency — especially for sellers with growing catalogs or multiple product lines — is to use AI image generation to standardize your visuals. When every image starts from the same AI-generated background style and lighting treatment, you get a level of visual consistency that's nearly impossible to achieve manually across dozens of products. This is where tools like ClickReadyAI make the most practical difference: one photo in, six consistent, professional images out.
Build a Repeatable Phone Photography Workflow
The sellers who end up with the best shop visuals aren't necessarily better photographers — they're more systematic. They shoot in batches, not one product at a time. They set up their space once and leave it in place. They edit all photos from one session using the same preset before they upload anything.
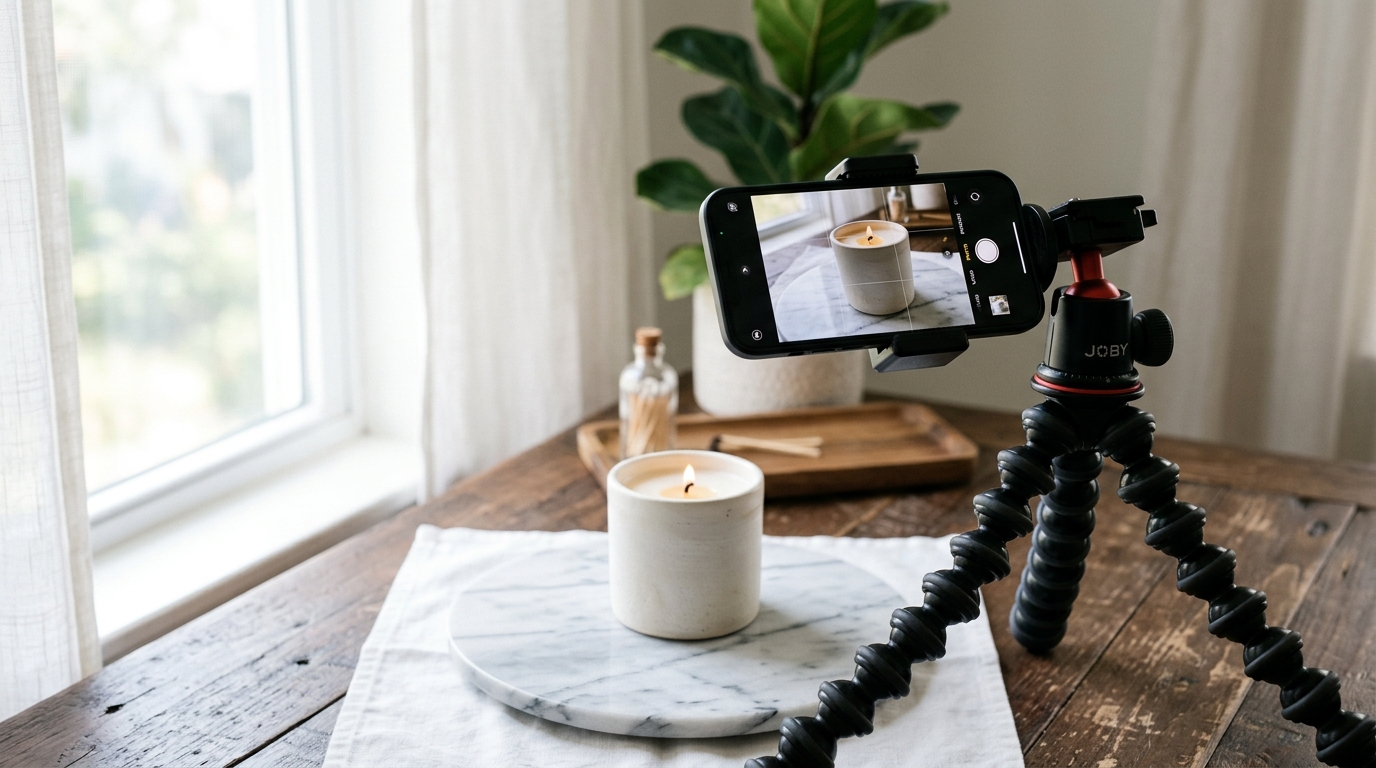
A practical workflow: dedicate two hours one afternoon to photography. Set up your surface with your chosen background and position the phone on a small tripod or propped at a consistent angle. Use a Bluetooth shutter remote (they cost a few dollars) so you don't shake the camera tapping the screen. Shoot all your hero images first, then swap to lifestyle setups, then detail shots. Keep lighting consistent throughout by keeping the window position and the time of day constant.
After shooting, import everything to Lightroom Mobile and create one preset from your best edited shot. Apply it across the batch. Export at full resolution, crop to square, and upload. From shoot to upload in a focused afternoon, you'll have consistent, professional product photos for Etsy across your whole catalog.
Ready to Transform Your Etsy Product Photos?
ClickReadyAI turns one product photo into six professional, Etsy-ready images in minutes — no studio, no Photoshop, no experience required. Over 500 Etsy sellers use it to produce listing-ready images that convert.
Start your free 10-day trial — no credit card required.
Frequently Asked Questions
Why do my Etsy product photos look good on my phone but bad on a desktop screen?
Phone screens are small and have high pixel density, which makes photos look sharper and more vibrant than they are. Desktop monitors show photos at larger sizes and under more varied lighting conditions, revealing softness, color casts, and compression artifacts that weren't visible on your phone. Always review your edited photos on a larger screen before uploading to Etsy.
Is it worth buying a phone tripod for Etsy product photography?
Yes — a basic $15 tripod eliminates camera shake and lets you lock your shooting position so every photo in a batch is framed identically. This is one of the cheapest upgrades with the largest visible impact on consistency. Look for one with a flexible gorillapod-style base that you can position at different angles.
Should I use portrait mode for product photos on Etsy?
Generally no. Portrait mode uses software-generated background blur that can look artificial on product edges, especially for items with complex outlines like jewelry or plants. It also tends to misidentify product edges and blur parts of the product itself. Shoot in standard photo mode and achieve background separation through your choice of background and composition instead.
What's the best free app for editing Etsy product photos on a phone?
Adobe Lightroom Mobile (free tier) is the most capable option for product photo editing because it gives you precise control over white balance, tone curves, and selective adjustments. Snapseed is a strong free alternative with a useful selective tool for brightening or neutralizing backgrounds without affecting the product. Both are available on iOS and Android.
How do I make my Etsy product photos look more professional without a big budget?
The highest-impact free or near-free changes are: move your light source to the side of your product (not behind you), shoot on a clean white background using a curved foam core sweep, and lock focus and exposure by tapping and holding before every shot. After those three changes, use a free editing app to ensure the background reads as true white. These four steps alone will close most of the gap between amateur and professional-looking product photos.