Jewelry is the hardest product category to photograph well, and most Etsy sellers find that out the expensive way. A ring that looks stunning in person turns into a blurry, oddly lit blob on camera. Earrings vanish against a busy background. A necklace's chain gets lost in shadow while the pendant blows out to white. If you sell handmade jewelry on Etsy, your photos carry almost the entire weight of the sale, because shoppers cannot touch the piece, feel its weight, or see it catch the light in person. Learning how to photograph jewelry for Etsy properly is not optional. It is the difference between a listing that converts and one that sits on page four of search results with zero favorites.
The good news is that jewelry photography does not require a jeweler's loupe camera setup or a five-figure lighting rig. It requires an understanding of a few specific problems that jewelry creates for cameras, and a handful of techniques that solve them consistently. This guide walks through exactly how to shoot rings, necklaces, earrings, and bracelets so they look as good online as they do in your hands.
Why Jewelry Photography Is Different From Other Products
Most product photography advice assumes you are shooting something with visible texture and a forgiving size, like a candle or a tote bag. Jewelry breaks those assumptions. It is small, so any camera shake or soft focus becomes obvious at the sizes Etsy displays photos. It is reflective, so bad lighting shows up as harsh white blowouts or distracting glare instead of a nice even glow. And it often involves fine details, like stone facets, engraving, or delicate chain links, that need sharp focus and strong lighting to read clearly in a thumbnail.
This combination means the margin for error is small. A cutting board photographed slightly out of focus still reads fine on a phone screen. A ring photographed slightly out of focus looks like a smudge. Etsy shoppers browsing jewelry make judgment calls in under two seconds, so your photo needs to communicate quality, craftsmanship, and scale almost instantly.
Lighting: The Single Biggest Factor
Lighting makes or breaks jewelry photography more than any other variable, including the camera itself. Metal and stones reflect light directly back at the lens, so a single hard light source, like direct sun through a window or an on-camera flash, creates blown-out hotspots and deep black shadows in the same shot.
The fix is diffused, even lighting from multiple angles. If you are shooting near a window, wait for an overcast day or hang a white bedsheet over the window to soften the light. Position the piece so light comes from the side rather than straight on, which brings out texture and dimension instead of flattening the piece into a glare. A second light source, even a simple desk lamp with a piece of parchment paper taped over it as a diffuser, fills in shadows on the opposite side and keeps the piece from looking one-dimensional.
Avoid built-in phone flash entirely. It sits too close to the lens and creates a flat, direct reflection that turns polished metal into a white blob. If your space is dim, add more ambient light rather than relying on flash. Two desk lamps positioned at 45-degree angles to the piece, both diffused, will outperform a flash every time.
Choosing the Right Background
Jewelry needs a background that does two things at once: it should not compete with the piece, and it should give the eye something to judge scale and material against. A plain white background works for clean, minimal reporting shots, particularly for your primary listing photo, since Etsy's search results and the white interface blend well with white backgrounds and make the product pop through contrast with its own shadow.
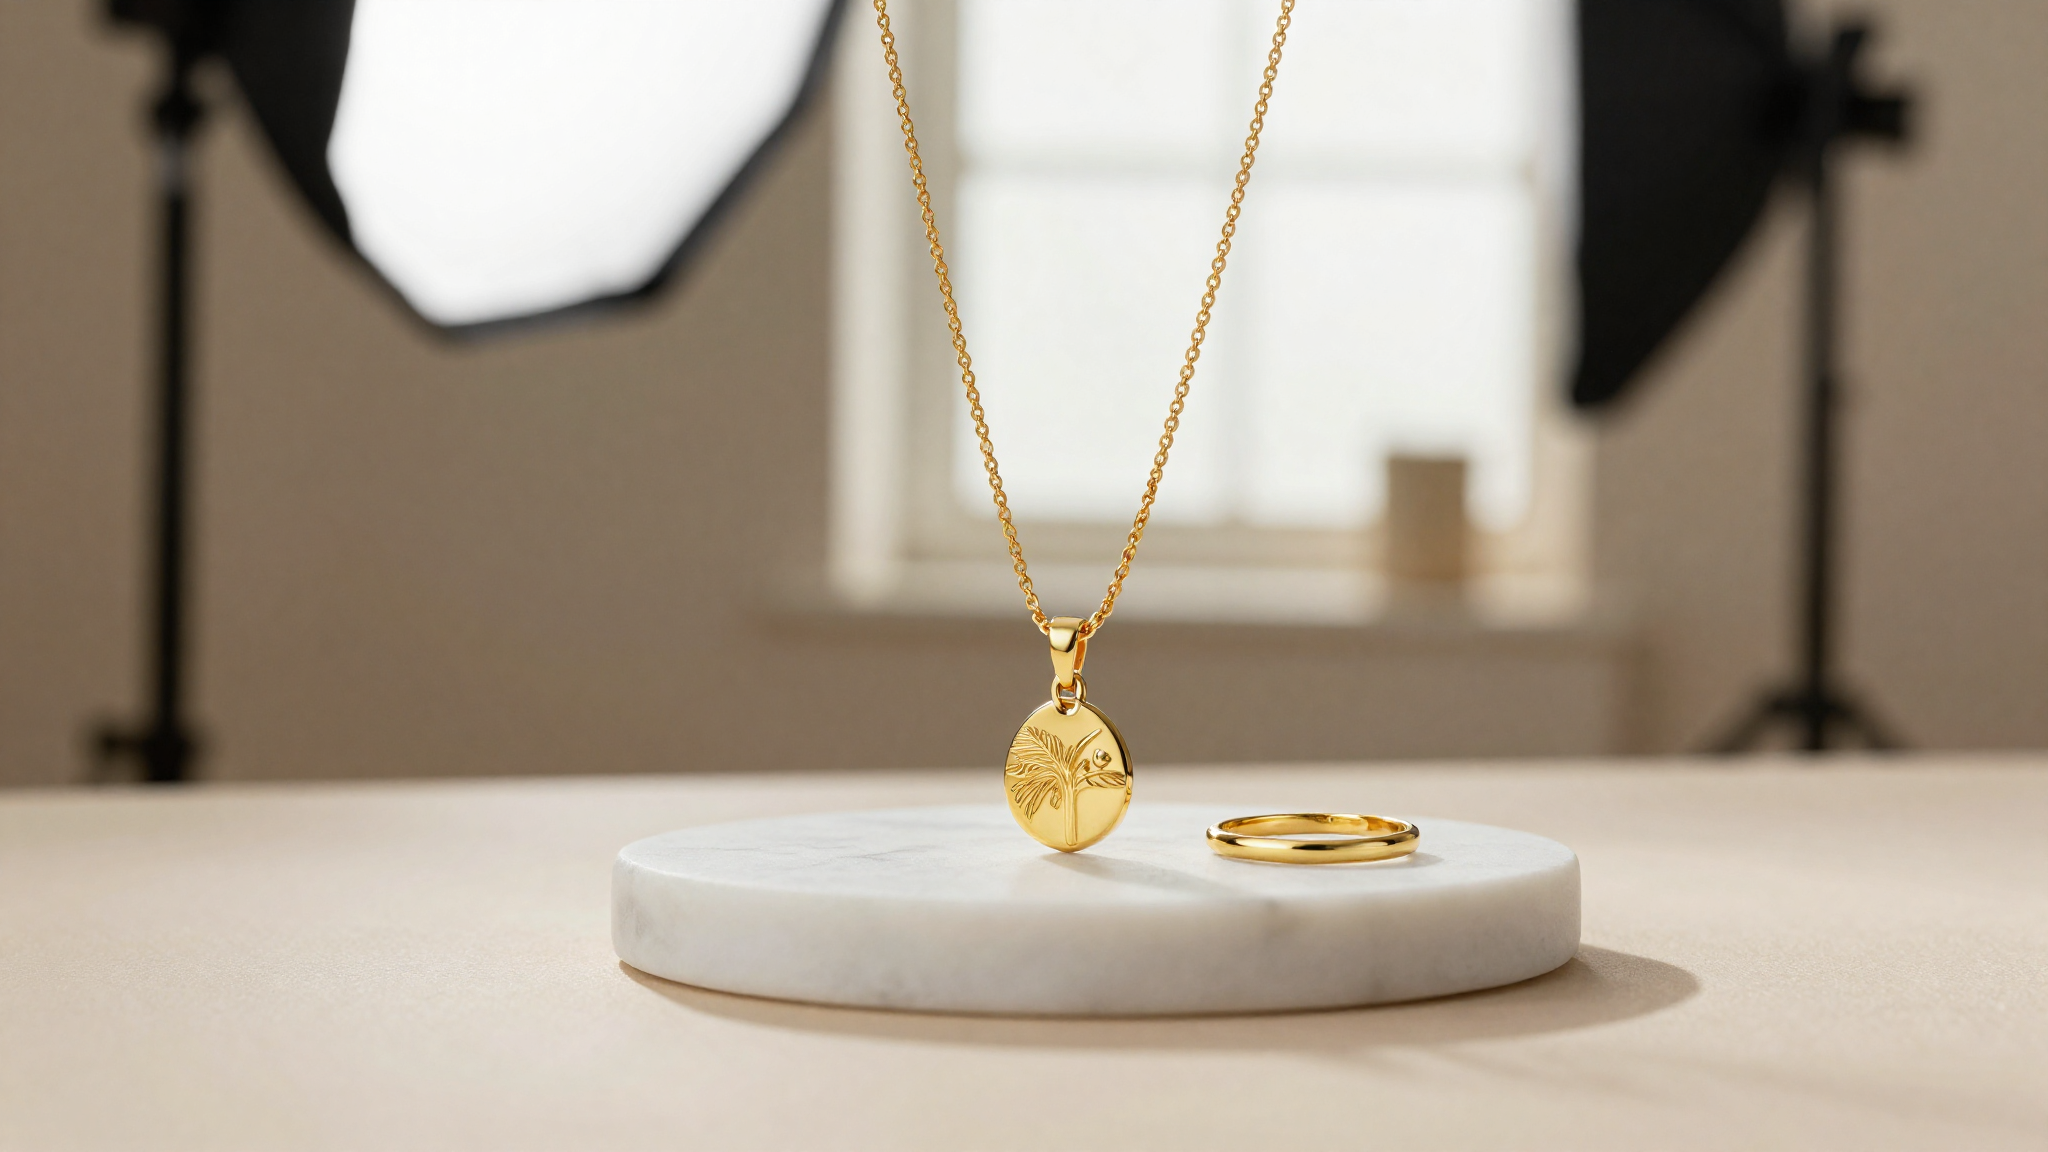
For secondary photos, consider a soft neutral surface like light gray velvet, a matte stone slab, or a linen cloth. These surfaces add a touch of texture without pulling attention away from the piece, and they help metal and gemstones read as premium rather than sitting in a sterile void. Avoid patterned or brightly colored backgrounds for the primary shot. They might look appealing to you, but they slow down the shopper's ability to register what they are looking at, and Etsy's algorithm rewards listings that get fast engagement.
One detail sellers overlook: shadows matter as much as the background color. A hard, dark shadow directly under a piece makes it look like it is floating in a spotlight, which reads as artificial. A soft, gradual shadow suggests the piece is sitting naturally in real light, which builds trust that the photo represents the product honestly.
Showing Scale and Fit
Jewelry photos fail most often because they do not communicate size. A pendant photographed alone against a background gives no sense of whether it is delicate or bold, and that ambiguity kills conversions because buyers hesitate to purchase something whose proportions they cannot picture. Every jewelry listing needs at least one photo that answers the scale question directly.
The simplest solution is a worn shot: the ring on a finger, the necklace on a neck, the earrings on an ear. If you cannot arrange a model, a hand or wrist shot from a friend or family member works fine, and you do not need a professional model for this. If modeled photos are not possible for your workflow, include a photo next to a common reference object, such as a coin, or note the piece's measurements directly in the photo using a simple graphic overlay. Etsy buyers who cannot judge size will bounce to a competing listing that makes it obvious, so treat this as a required photo, not an optional one.
Capturing Detail and Craftsmanship
Handmade jewelry often has details that justify the price: hand-stamped text, a particular stone cut, an unusual clasp, or fine soldering work. These details are exactly what separates your piece from a mass-produced alternative, so your photos need to make them visible. A single wide shot of the full piece cannot do this job alone.
Add at least one close-up photo per listing that isolates the detail you want buyers to notice. Get physically closer to the piece rather than zooming digitally, since digital zoom degrades sharpness fast at jewelry's small scale. If your camera has a macro mode, use it. Focus manually if your camera allows it, tapping to focus directly on the detail rather than letting autofocus settle on the background. A slightly underexposed detail shot with sharp focus beats a bright one that is soft, because buyers forgive brightness issues far more readily than blur.
Editing Without Overdoing It
Editing jewelry photos is a balancing act. Underedited photos look dull and amateur, with dingy backgrounds and inconsistent color temperature between shots. Overedited photos look fake, with oversaturated stones and metal that has been sharpened into a cartoonish sheen. The goal is accuracy paired with polish.
Start by correcting white balance so the metal reads its true color, whether that is warm gold, cool silver, or rose gold. A blue or yellow cast is one of the fastest ways to make handmade jewelry look cheap, even when the piece itself is excellent. Next, clean up the background so it is consistent across all photos in the listing, since a mismatched background from photo to photo signals a disorganized shop. Finally, adjust exposure and contrast lightly rather than aggressively, keeping in mind that gemstones and polished metal already carry strong natural contrast that does not need exaggeration.
If editing each photo individually across every new listing sounds like a lot of ongoing work, that is because it is. This is exactly the bottleneck that pushes many jewelry sellers toward automated tools that handle lighting correction, background consistency, and color accuracy without a repeated manual process for every new piece added to the shop.
Building a Repeatable Setup
The sellers who consistently produce good jewelry photos are not necessarily the most talented photographers. They are the ones who built a setup they can repeat every time without reinventing the process. That means a consistent shooting spot near a diffused light source, a small collection of backgrounds that suit different jewelry types, and a fixed camera position or tripod that removes guesswork from framing.
Write down your settings once you land on something that works: the time of day you shoot, the distance from the light source, the camera height, and any editing adjustments you consistently apply. Treat it as a recipe rather than a one-time effort. New jewelry pieces will photograph more consistently, and consistency across your shop's listings builds the kind of visual trust that keeps shoppers browsing instead of clicking away after one photo.
Ready to Transform Your Etsy Product Photos?
ClickReadyAI turns one product photo into six professional, Etsy-ready images in minutes — no studio, no Photoshop, no experience required. Over 500 Etsy sellers use it to produce listing-ready images that convert.
Start your free 10-day trial — no credit card required.
Frequently Asked Questions
Do I need a professional camera to photograph jewelry for Etsy? No. A modern smartphone camera captures enough detail and sharpness for Etsy listings, especially when paired with good diffused lighting and a stable surface or tripod. The camera matters far less than lighting, focus, and a clean background.
How many photos should a jewelry listing include? Etsy allows up to ten photos per listing, and jewelry sellers should use most of that space. Include a clean primary shot, a worn or scale photo, at least one close-up detail shot, and a few angle variations so buyers can picture the piece fully before purchasing.
Why does my jewelry look washed out or blown out in photos? This usually comes from a single harsh light source, like direct sun or on-camera flash, hitting reflective metal or stones directly. Diffusing your light source and shooting from a slight angle instead of straight on fixes most blown-out highlights.
How do I photograph jewelry without a model? Use a mannequin bust, a jewelry stand, or your own hand or ear for scale shots. Including a coin or ruler in one photo, or a measurement overlay, also helps buyers understand size when a worn shot is not possible.
Can I use the same background for all my jewelry photos? A consistent primary background across your shop, typically white or a neutral surface, builds a cohesive look that helps buyers recognize your brand while browsing. Save background variety for secondary or lifestyle-style photos rather than your main listing image.